
Creating a REST API with Node.js
JavaScript has become one of the most popular programming languages in the world, due to its versatility and ability to run on both the client and server side. One of the key features of JavaScript on the server side is its ability to create REST APIs.
In this article, we will explore what REST APIs are, and how to create them in JavaScript.
What is a REST API?
A REST (Representational State Transfer) API is a way of creating web services that follow a specific architectural style. In a REST API, resources (such as users or products) are represented as URLs, and each resource has a set of operations that can be performed on it (such as creating, updating, or deleting the resource).
A REST API is stateless, meaning that the server does not store any information about the client between requests.
Instead, each request from the client includes all the necessary information to complete the request.
REST APIs use HTTP methods (such as GET, POST, PUT, and DELETE) to define the operations that can be performed on resources. For example, a GET request to a user resource URL might retrieve the user’s information, while a POST request might create a new user.
Creating a REST API in JavaScript
To create a REST API in JavaScript, we can use a server-side JavaScript framework such as Node.js, which provides a built-in web server and a number of modules for handling HTTP requests and responses.
Before we begin exploring the code, create a directory rest-api. In this directory, type npm init -y. After that’s complete, install express by running npm i express. After this is done, create a file called index.js – this is where our code will go.
Let’s take a look at a simple example of a REST API in JavaScript using Node with the Express.js framework:
const express = require("express");
const app = express();

app.use(express.json());

const users = [
  { id: 1, name: "Alice" },
  { id: 2, name: "Bob" },
];

// Define a GET request handler for the user resource
app.get("/users", (req, res) => {
  res.json(users);
});

// Define a POST request handler for the user resource
app.post("/users", (req, res) => {
  const { name } = req.body;
  const id = users.length + 1;
  users.push({ id, name });
  res.json({ id, name });
});

// Start the server
app.listen(3000, () => {
  console.log("Server listening on port 3000");
});
In the code above, we define a user resource as an array of objects. We then define two request handlers for the user resource: a GET handler that returns the list of users, and a POST handler that adds a new user to the list.
We use the express module to create an instance of the Express.js web server, and then define the request handlers using the get and post methods of the app object. Finally, we start the server by calling the listen method of the app object.
We can add more features to our REST API, such as handling PUT and DELETE requests for updating and deleting resources. Here’s an updated example:
const express = require("express");
const app = express();

app.use(express.json());

let users = [
  { id: 1, name: "Alice" },
  { id: 2, name: "Bob" },
];

// Define a GET request handler for the user resource
app.get("/users", (req, res) => {
  res.json(users);
});

// Define a POST request handler for the user resource
app.post("/users", (req, res) => {
  const { name } = req.body;
  const id = users.length + 1;
  users.push({ id, name });
  res.json({ id, name });
});

// Define a PUT request handler for the user resource
app.put("/users/:id", (req, res) => {
  const { id } = req.params;
  const { name } = req.body;
  const index = users.findIndex((user) => user.id === parseInt(id));
  if (index !== -1) {
    users[index].name = name;
    res.json(users[index]);
  } else {
    res.status(404).json({ error: "User not found" });
  }
});

// Define a DELETE request handler for the user resource
app.delete("/users/:id", (req, res) => {
  const { id } = req.params;
  const index = users.findIndex((user) => user.id === parseInt(id));
  if (index !== -1) {
    users.splice(index, 1);
    res.sendStatus(204);
  } else {
    res.status(404).json({ error: "User not found" });
  }
});

// Start the server
app.listen(3000, () => {
  console.log("Server listening on port 3000");
});
In this updated example, we’ve added handlers for PUT and DELETE requests. The PUT handler updates an existing user with the specified ID, while the DELETE handler removes a user with the specified ID. We use the findIndex method to find the index of the user in the array, and the splice method to remove the user. We also use HTTP status codes to indicate the result of the request. For example, a 404 status code is returned if the requested user is not found.
Let’s test our API and see how to use it.
Testing the API
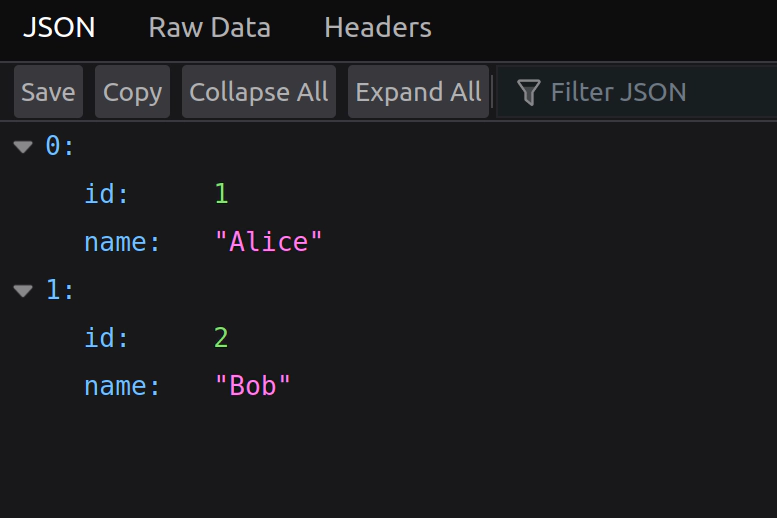
To test our API, we need to run the index.js file we just created via node index.js. After we’ve done this, we can navigate to the browser and visit localhost:3000/users to see the JSON displayed.
To use the REST API that we created, you can use any HTTP client to send requests to the API endpoints. For example, you can use the curl command-line tool or an application like Postman.
In this tutorial, we’ll be using curl to quickly test the API. So, we have the API running on port 3000, and we want to create a new user. We can send a POST request to the /users endpoint with the user’s name in the request body:
curl -X POST -H "Content-Type: application/json" -d '{"name": "John"}' http://localhost:3000/users
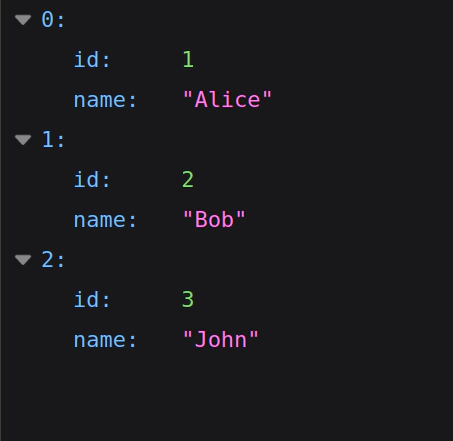
This will send a POST request to the /users endpoint with a JSON payload containing the user’s name. The server will add the user to the users array and respond with the new user’s ID and name: {"id":3,"name":"John"}.
We can then use a GET request to retrieve the list of users:
curl http://localhost:3000/users
This will return a JSON array containing the list of users, including the one we just added:
[{"id":1,"name":"Alice"},{"id":2,"name":"Bob"},{"id":3,"name":"John"}]
Here it is in the browser:
Similarly, we can use a PUT request to update an existing user. For example, to update the user with ID 3 to have the name “David”, we can send the following request:
curl -X PUT -H "Content-Type: application/json" -d '{"name": "David"}' http://localhost:3000/users/3
This will update the user’s name and respond with the updated user:
{"id":3,"name":"David"}
Finally, we can use a DELETE request to remove a user. For example, to remove the user with ID 3, we can send the following request:
curl -X DELETE http://localhost:3000/users/3
This will remove the user and respond with a 204 No Content status code.
In summary, to use a REST API, you need to know the API endpoints, the HTTP methods and request payload format, and the expected response format. You can then use any HTTP client to send requests to the API endpoints and receive responses from the server.
Conclusion
REST APIs are a popular and powerful way to create web services that can be used by other applications or services. In JavaScript, we can use a server-side JavaScript framework such as Node.js and the Express.js framework to create REST APIs that are scalable, flexible, and easy to maintain.
Of course, if you want this data to persist – creating a practical API – you’ll need to use a database, such as MongoDB.
If you’d like us to write an article on creating an API with MongoDB, drop a comment below and let us know.
Cheers!
Related Posts

The Art of Data Visualization: Exploring D3.js
Data is everywhere, flowing into our applications from various sources at an unprecedented rate. However, raw data alone holds little value unless it can be transformed into meaningful insights.
Read more
JavaScript’s Secret Weapon: Supercharge Your Web Apps with Web Workers
During an interview, I was asked how we could make JavaScript multi-threaded. I was stumped, and admitted I didn’t know… JavaScript is a single-threaded language.
Read more
Creating a NodeJS Budgeting Tool
In this article, we’re going to show you how to read and write to a .txt file using NodeJS by creating a small budgeting CLI (Command Line Interface).
Read more