Routing with Angular: A Quick Tutorial
Today, we’ll be looking at the navigation and routing aspects in Angular. This tutorial is a continuation of our previous starter tutorial where we created a simple Angular application, installed Tailwind CSS, and created a navigation bar. If you want to follow along, you can use the previous example from the article Creating a Navbar with Angular 17 and Tailwind CSS or you could also just download the code on GitHub and get started on this tutorial directly.
You could also just grab the concepts of routing and navigation directly from this tutorial; we’ll be diving into the details of all the concepts that we’ll be using here today!
Creating the component
To create different routing, we are first going to create a component to route to. To begin with, we are going to create an “about” component. The aim right now is to create an “about” page and navigate to it when clicked on the ‘about’ link in the header. To do this, we are going to use the following code.
ng g c about-page
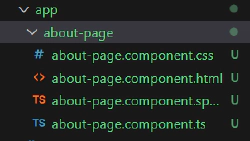
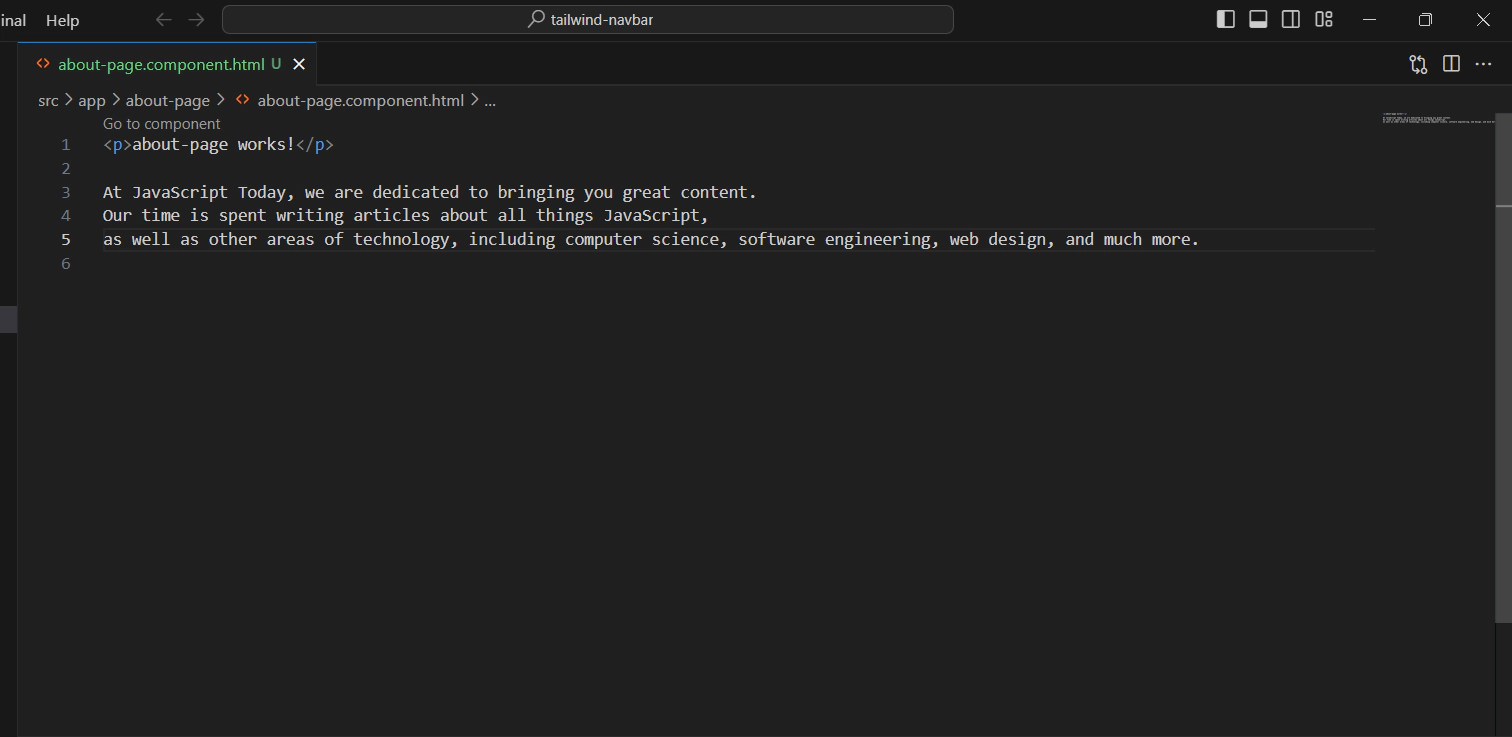
Here we can see that our “about-page” component has been created, and we have our regular HTML, CSS, JavaScript, and test files along with it. As usual, we’ll go into the HTML file of this and write some content.
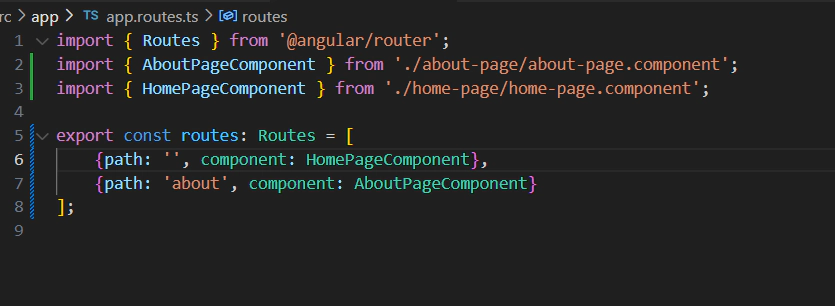
Now, we’ll go into the “app.routes.ts” file and import our component into it with the following code.
import { AboutPageComponent } from './about-page/about-page.component';
In the constant variable “routes”, we’ll add our path and define our component along with the path to it. We’ll do this with the following code.
{path: 'about', component: AboutPageComponent}
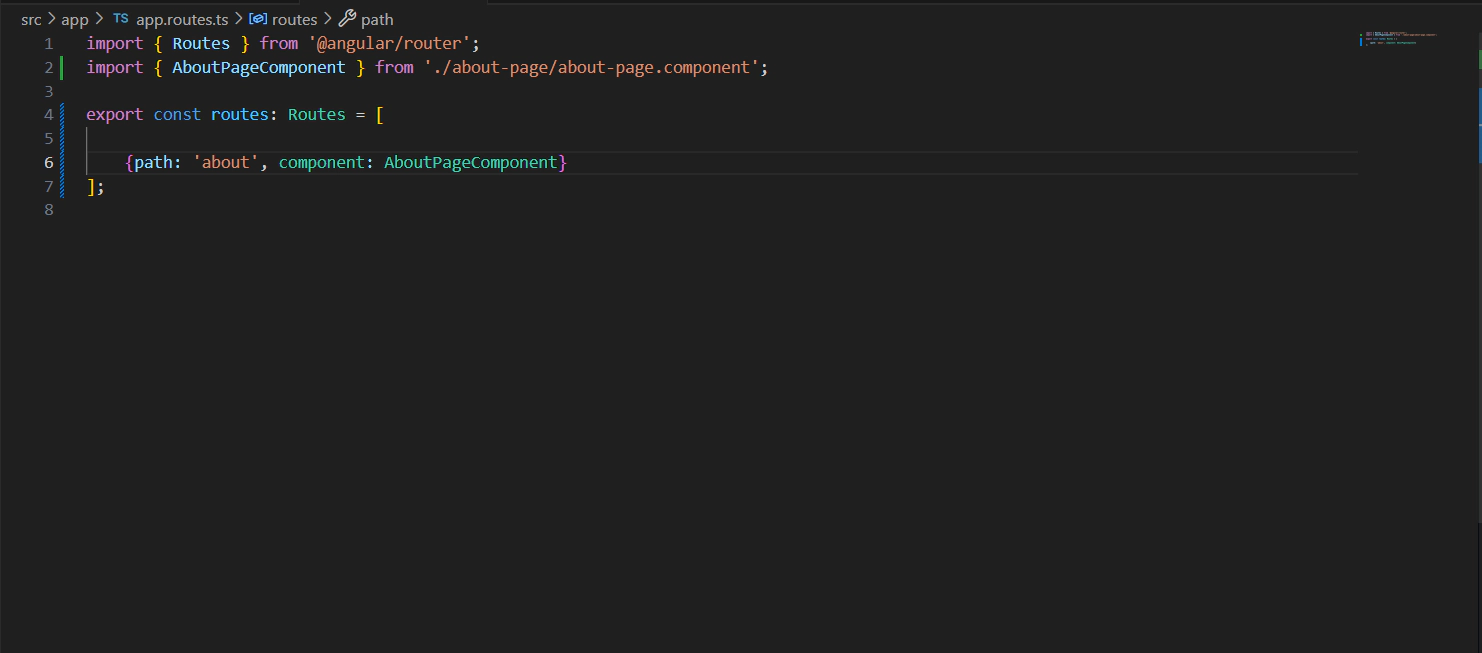
At the end of this, our routing file should look something like the following:
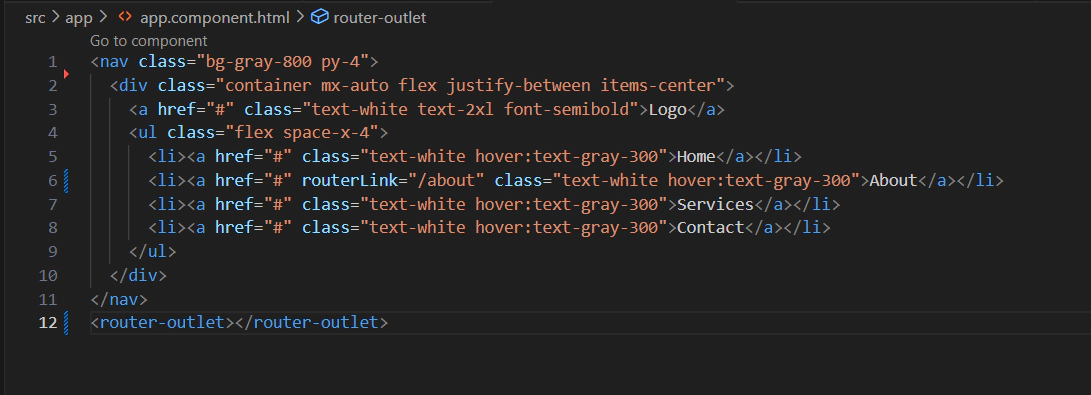
We’ll make One last update to our navbar area to include the path to which to navigate to:
routerLink="/about"
<li><a href="#" routerLink="/about" class="text-white hover:text-gray-300">About</a></li>
Now, when you go to the about page, it’ll look something like:
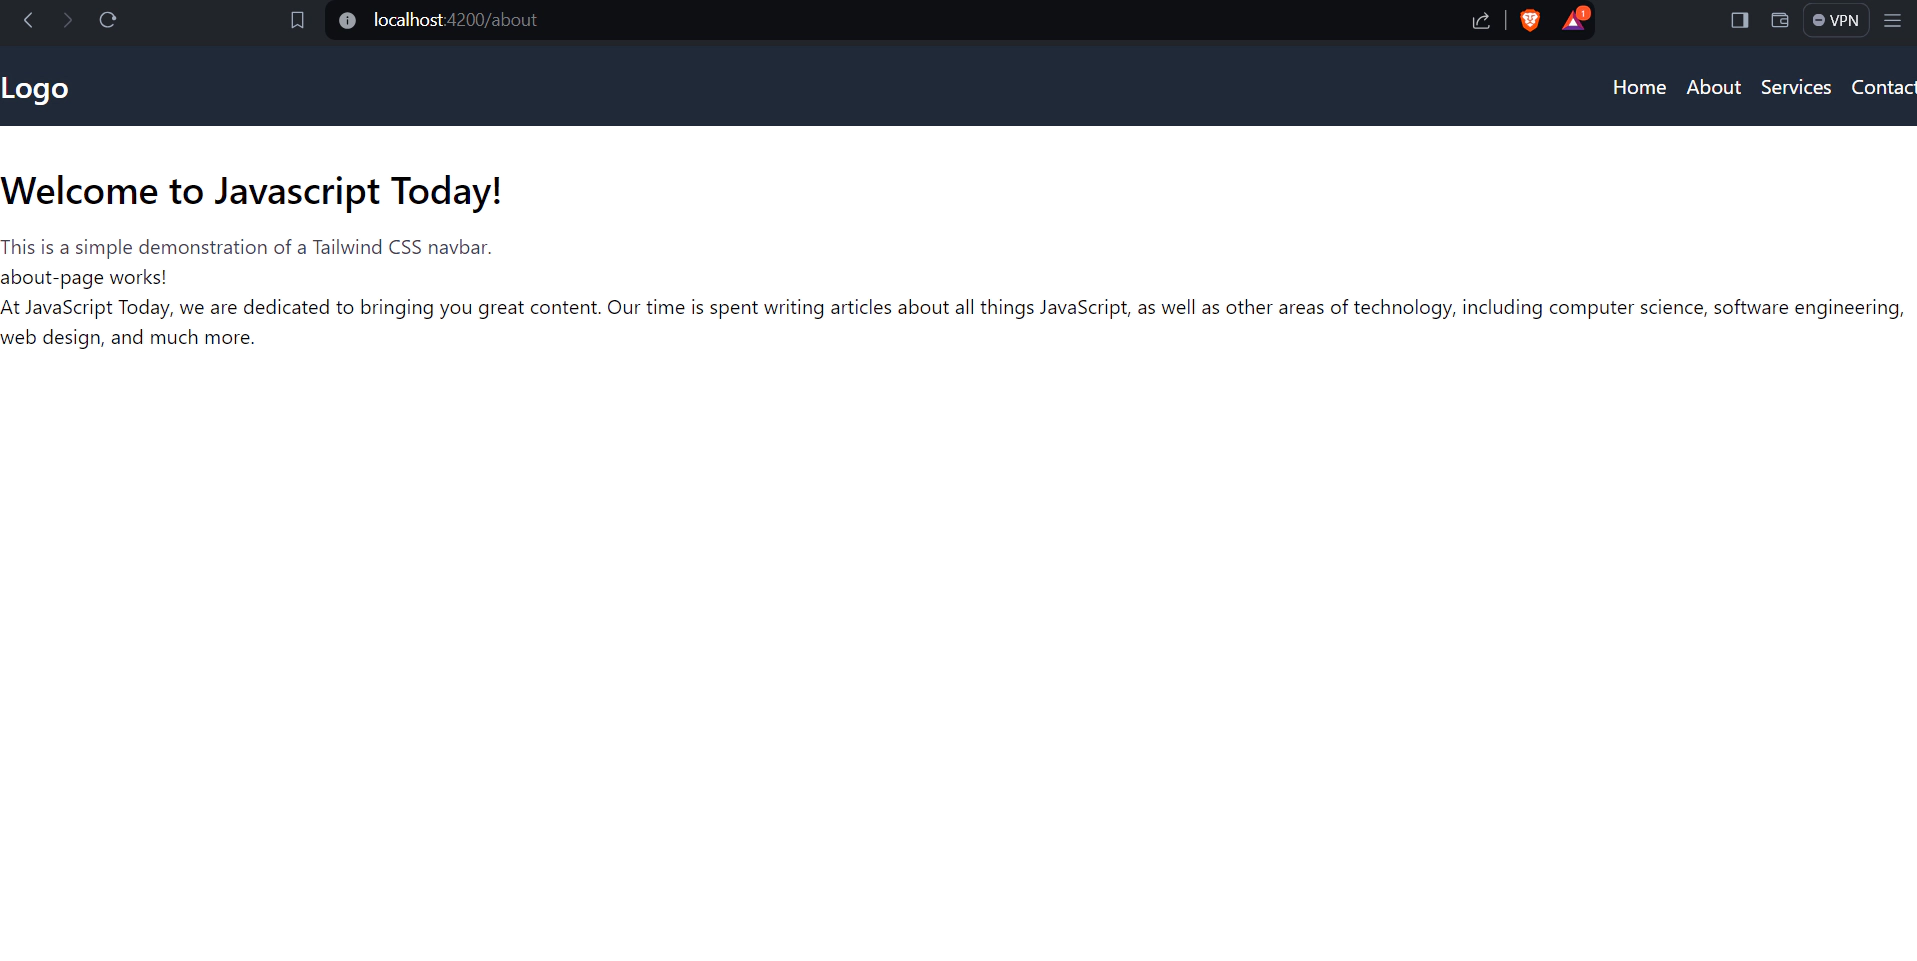
Here, we have accomplished our task of routing successfully. On a technical level, we have achieved our goal, but everything looks messy as of now and on a real-world application, we need to clean things up. So, to start with, we’ll create a separate homepage instead of writing code in the default “app.component.ts”. We’ll use code similar to the one used above:
ng g c home-page
We’ll make some changes to our routing page to include the homepage as the initial routing. We’ll write the following in our routing page:
import { HomePageComponent } from './home-page/home-page.component';

{path: '', component: HomePageComponent},
By following these steps, we can see that we have completely separated our home and about pages, and we’ve successfully cleaned up our code (to an extent).
But as we’ll see now, in this world of programming, when we solve one problem, a couple more arise. As we cleaned the code, we now have a separate issue that has been generated. Any guesses as to what that could be? Now, our about page looks like this:
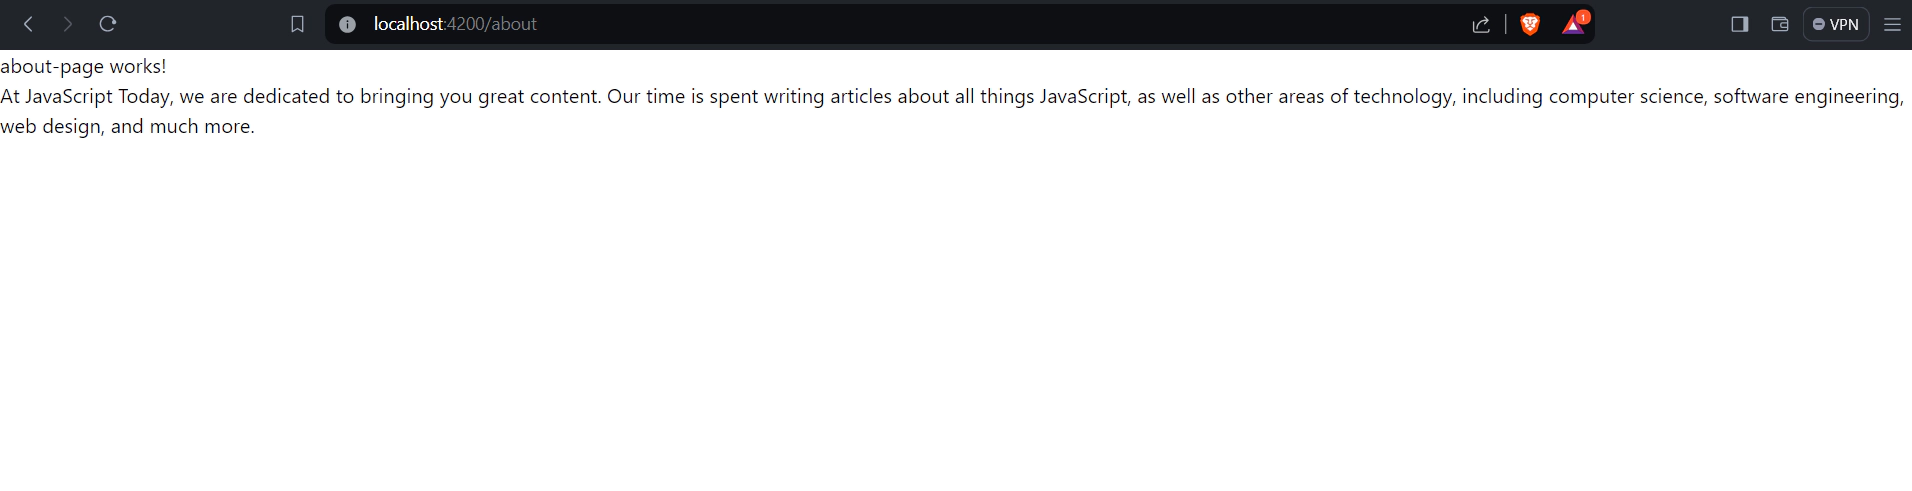
Our navbar is missing. The whole point was to create a navigation bar with routing. If there is no navbar, what’s the point of this tutorial? So, let’s add the navbar to this. One way of doing this would be adding the homepage component to the about page by calling the app selector, but a better way would be to leave the navbar for all pages intact and just change the body of the pages as we route through the website.
To accomplish this, we’ll make our homepage component and app component look like the following:
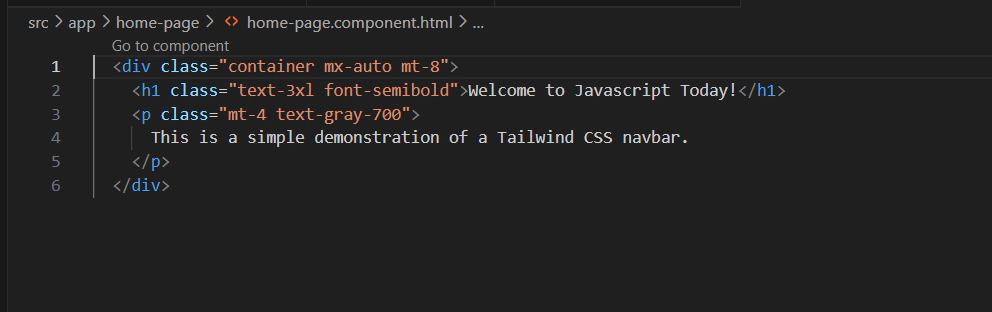
As we can see from the images above, we have simply separated the code we already had into two components. The point of focus here would be the
Conclusion
All in all leaning angular routing is pivotal for developing dynamic and seamless web applications. By understanding the fundamentals of routing, navigating between components you can enhance user experience and optimize application performance. Through this tutorial, we’ve explored the core concepts and best practices, empowering you to confidently implement navigation within your Angular projects.
I’d recommend you to do the steps above for the other tabs as well, it’ll a little practice and you’ll be one step closer to making a fully fledged applicaiton using Angular and Tailwind CSS with proper navigation!
For the full code, please check out the Angular Routing GitHub Repository.
This article was written by Sarthak Pokharel, an experienced web developer with more than 4+ years of professional work experience.
Related Posts

Unveiling the Fascination of the Collatz Conjecture: Exploring Sequence Creation with JavaScript
The Collatz Conjecture, also known as the 3x+1 problem, is a fascinating mathematical puzzle that has intrigued mathematicians for decades. It has sparked publications with titles such as The Simplest Math Problem Could Be Unsolvable, or The Simple Math Problem We Still Can’t Solve because it is, indeed, rather simple-looking.
Read more
The Art of Data Visualization: Exploring D3.js
Data is everywhere, flowing into our applications from various sources at an unprecedented rate. However, raw data alone holds little value unless it can be transformed into meaningful insights.
Read more
JavaScript’s Secret Weapon: Supercharge Your Web Apps with Web Workers
During an interview, I was asked how we could make JavaScript multi-threaded. I was stumped, and admitted I didn’t know… JavaScript is a single-threaded language.
Read more